Things I love:
1. Cariboo
2. Craftivities
3. Easy therapy planning with minimal prep work involved
4. Adapting a set of materials to use with a variety of kids
5. Hitting “print” and walking to a nearby printer to pick up all of my papers, versus flipping through a bulky spiral-bound book to make copies of each page I need, holding up a line of fellow teachers/therapists who also need to make copies ASAP, who are also silently cursing me and hoping that the only copier in the school doesn’t break again before it’s their turn.
If you love all of these things, too, (especially #5), then you’re in luck. Today, I’m going to show you a variety of CUTE and SIMPLE themed craftivities that you can make throughout the year by printing my Cariboo language and Cariboo phonology cards on colored printer/construction paper!
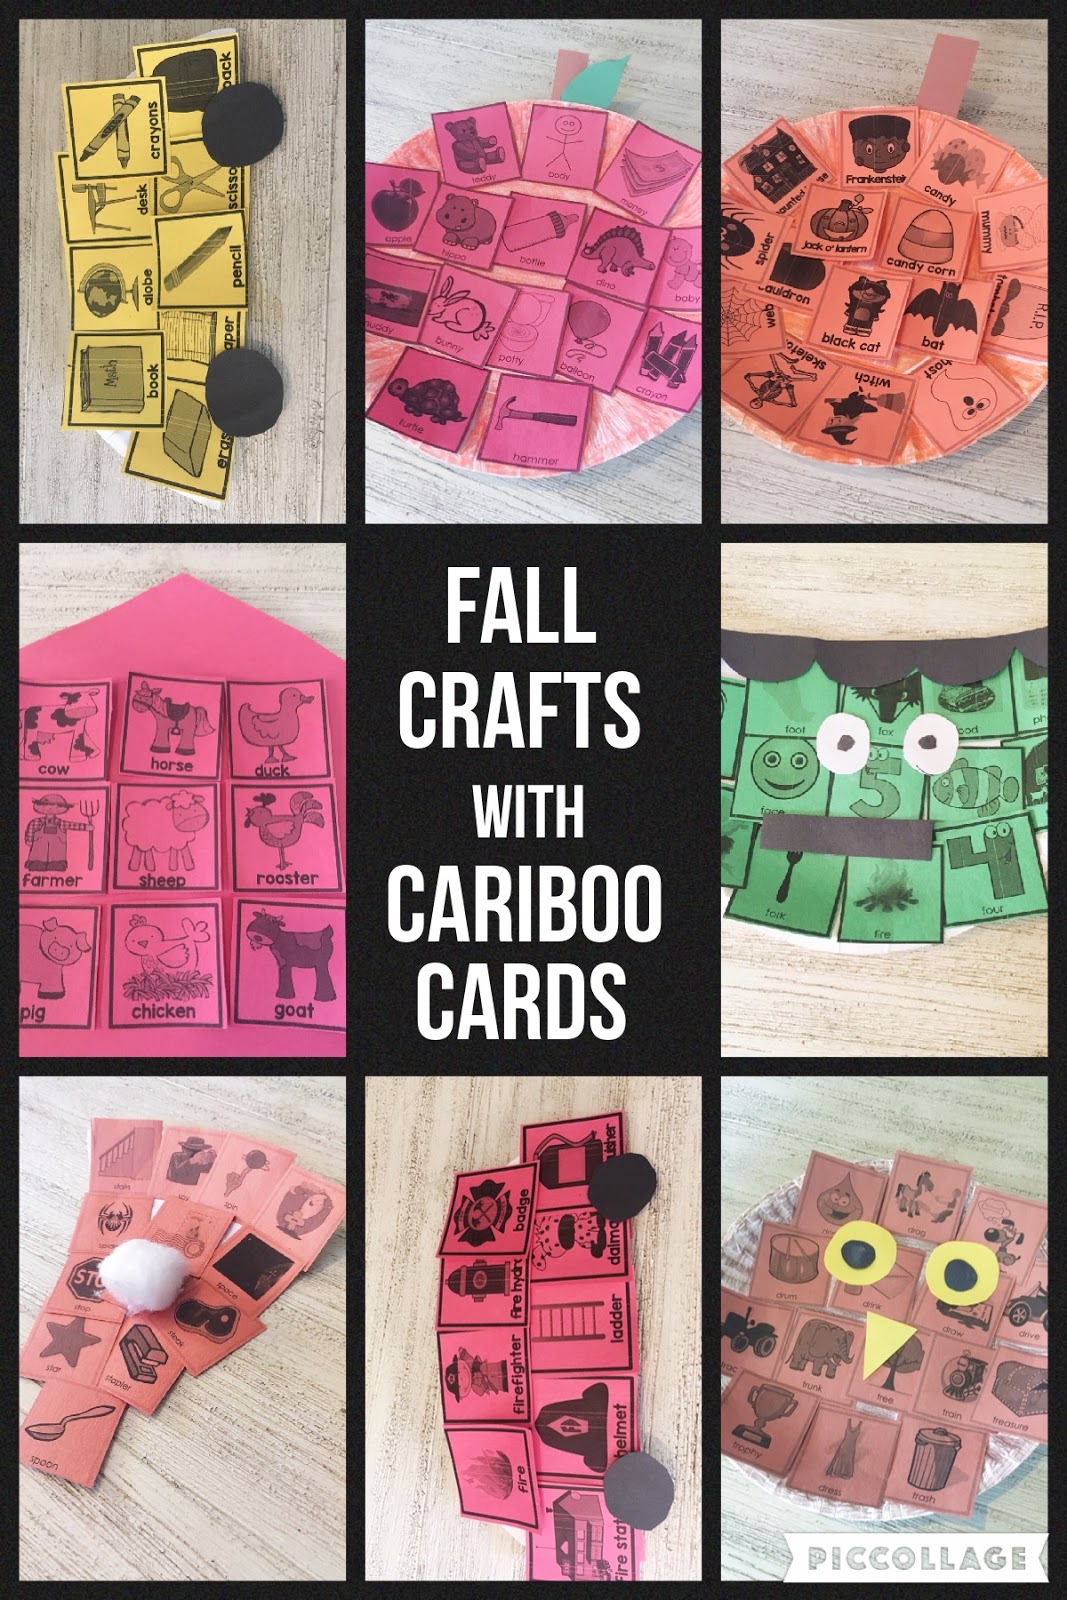
1. School bus
Materials Needed: paper plate, yellow copy/construction paper for the bus, and black construction paper for the wheels
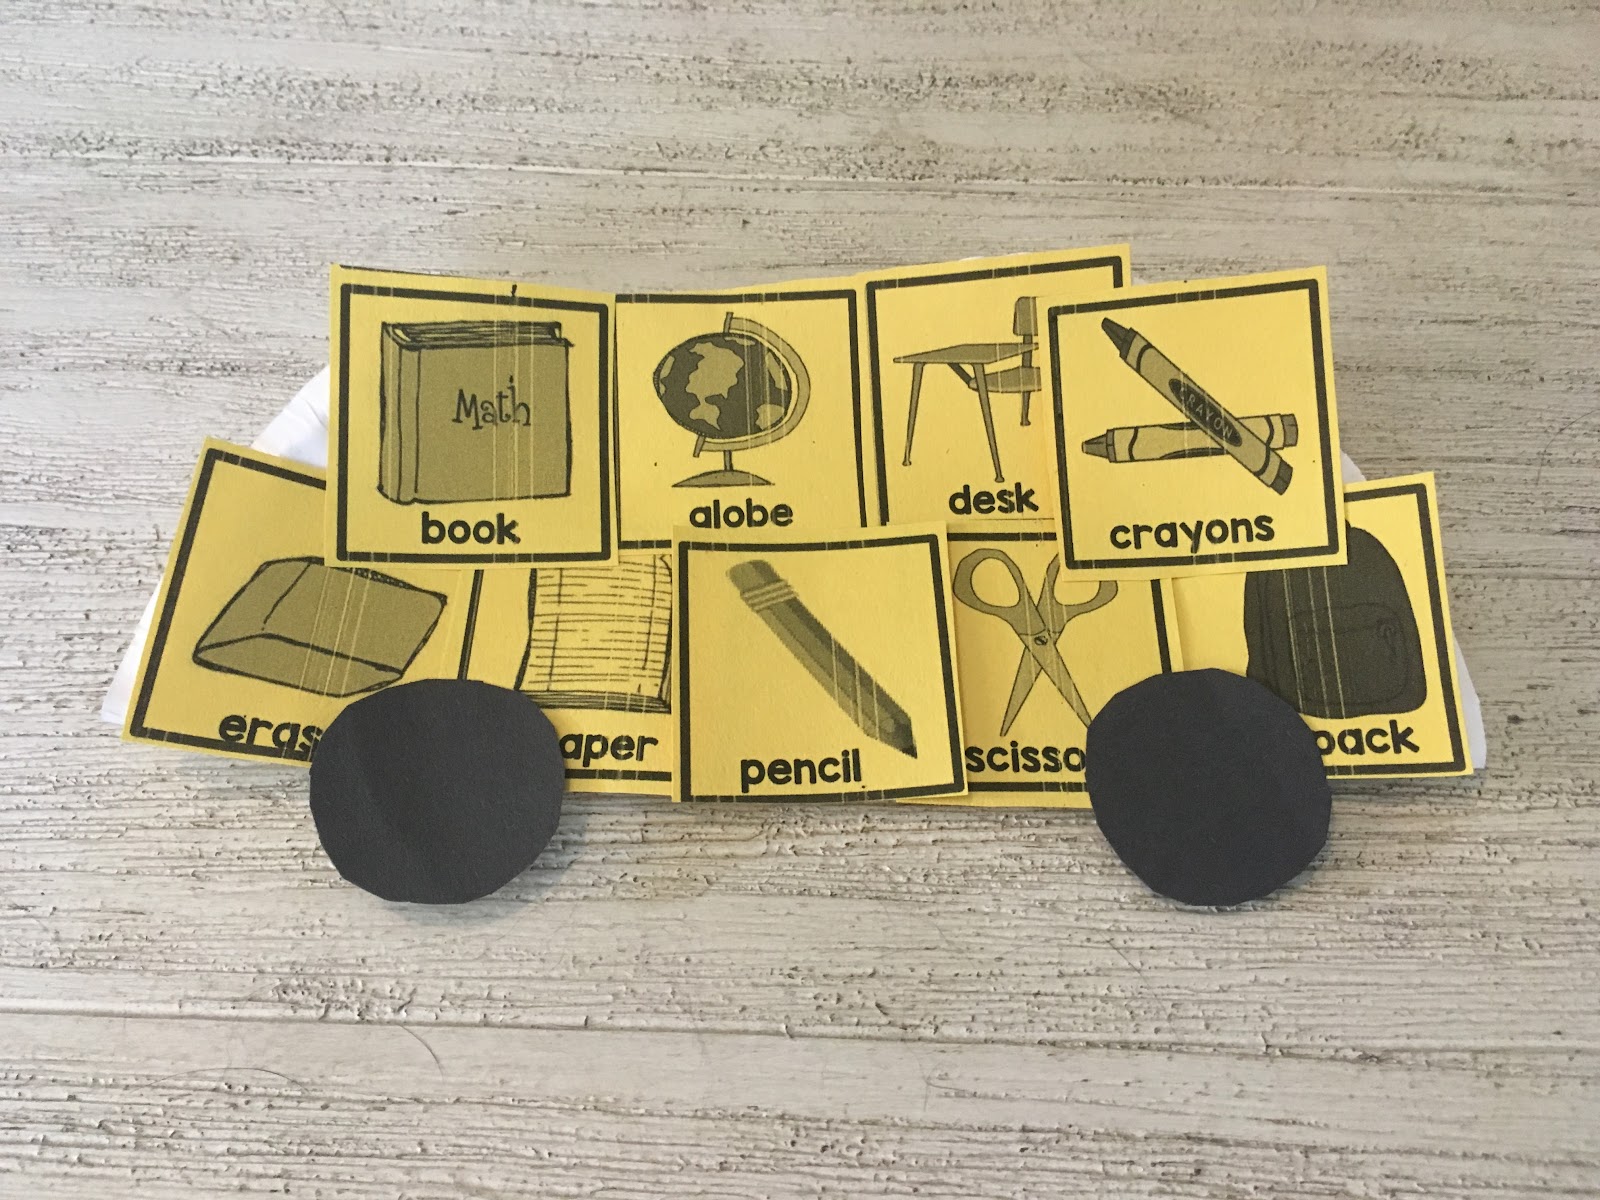
Take a paper plate and fold it in half, and glue the yellow target pictures onto the plate. I used the “back to school” cards from my original language set, which are great for targeting school supply vocabulary and object functions. I used 4 wheels per bus since I was using the front and back. I also cut off the top rounded part of the plate when I was done, to have a flat edge at the top.
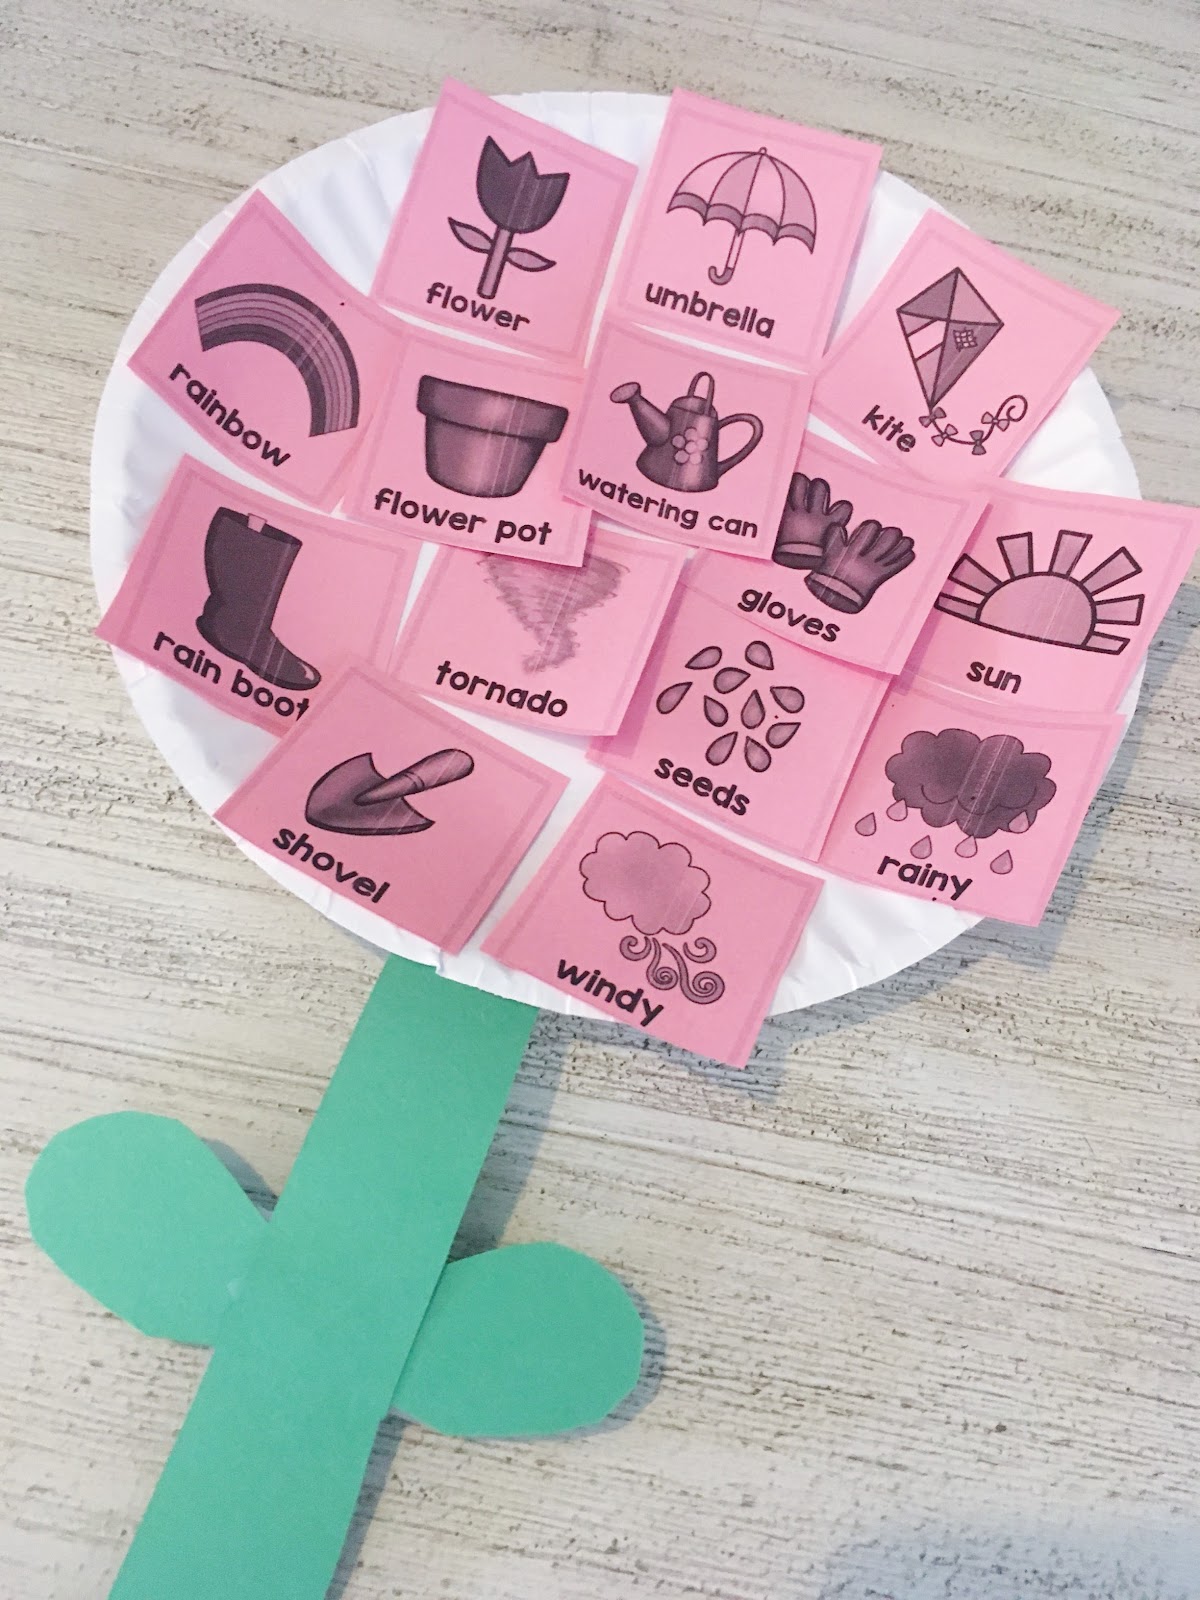
2. Apple
Materials needed: paper plate, red (or green or yellow!) copy/construction paper, brown construction paper (stem), green construction paper (leaf)

Print any set of cards (two syllable words from my phonology set are featured in this one) on red, green, or yellow paper, and glue all around the plate! You can also have your kids color the plate with a crayon ahead of time so the empty spaces between the pictures are the same color as the pictures, too. Add the stem and leaf, and voila!
3. Farm
Materials needed: red construction paper for the barn, and red copy/construction paper for the pictures
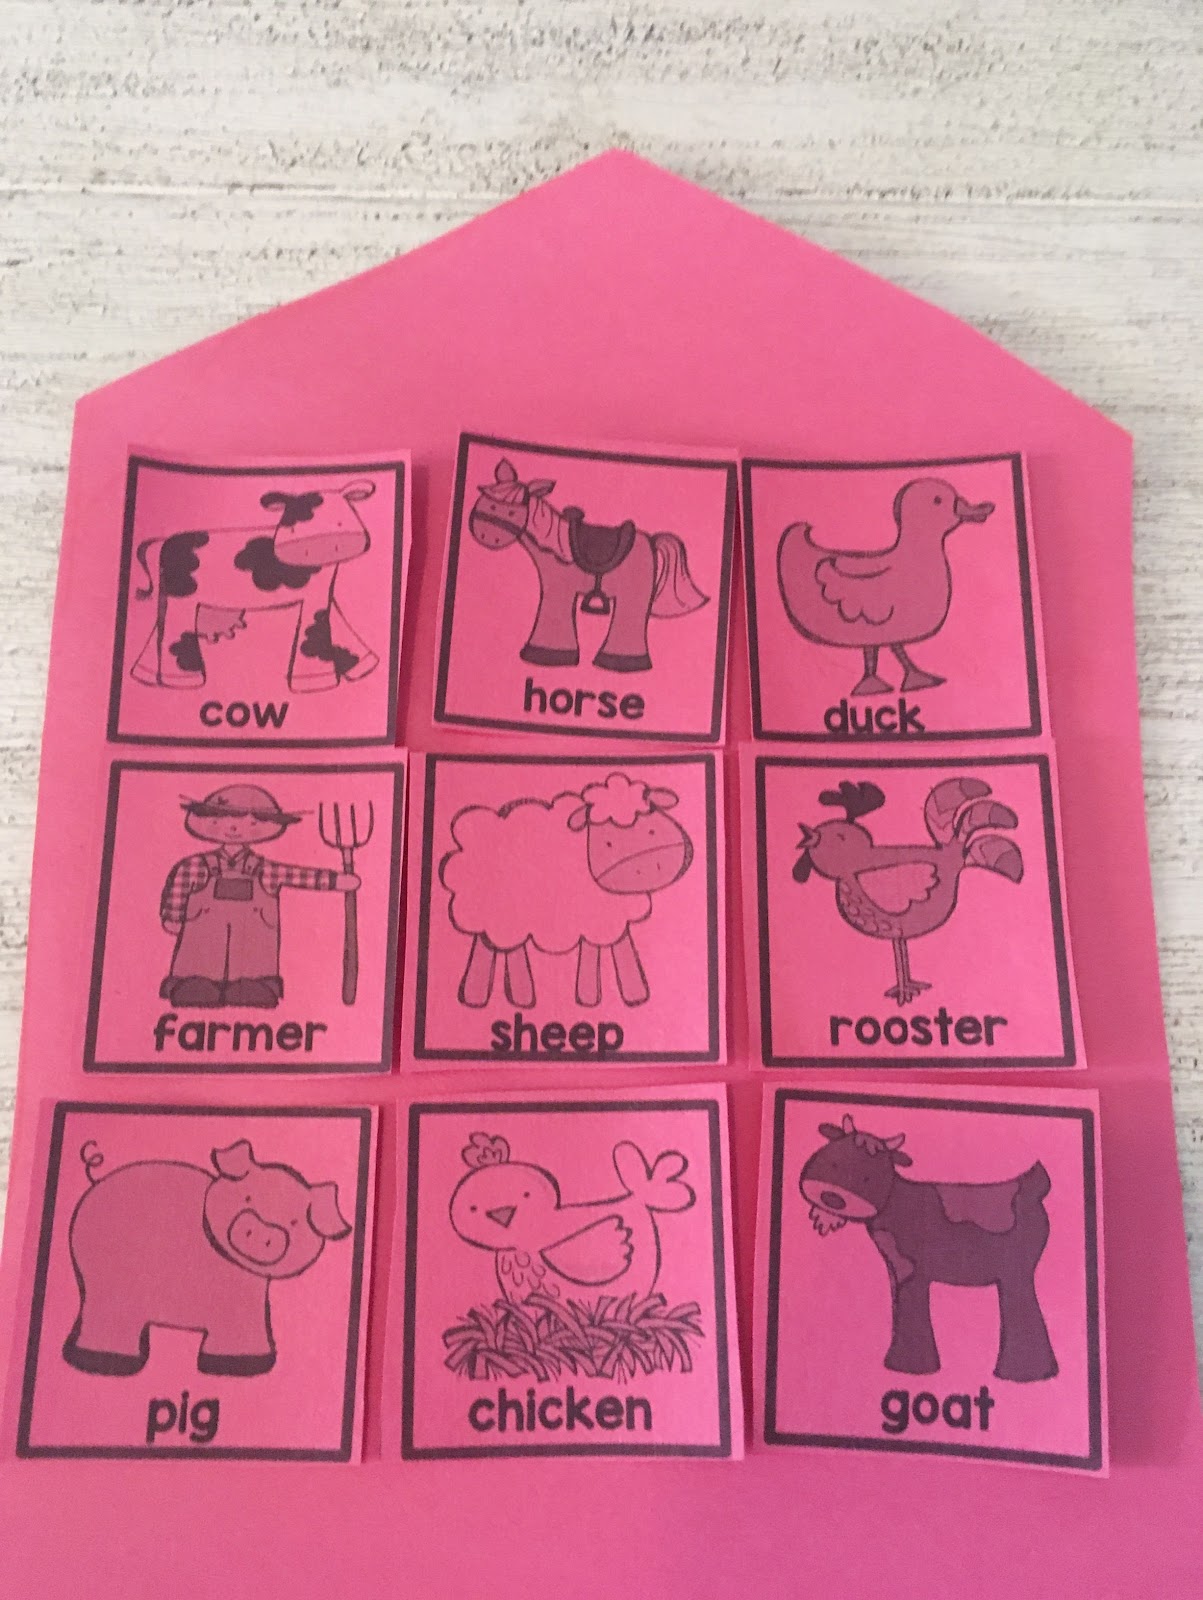
Cut out the shape of a barn on red construction paper, and glue your pictures on! Featured here are the farm animal and initial /f/ sets of Cariboo cards. Using the farm animal set, you could target receptive/expressive vocabulary with animal names, identify animals by the sound they make, talk about what they like to eat, how they move (galloping, running, hopping, flying…), etc…!
4. Pumpkin
Materials needed: paper plate, orange copy/construction paper, brown construction paper (stem)

Print the desired set of cards on orange paper (featured here is the Halloween set) and glue all around. Again, you can have your students color the plate orange before gluing on the pictures.
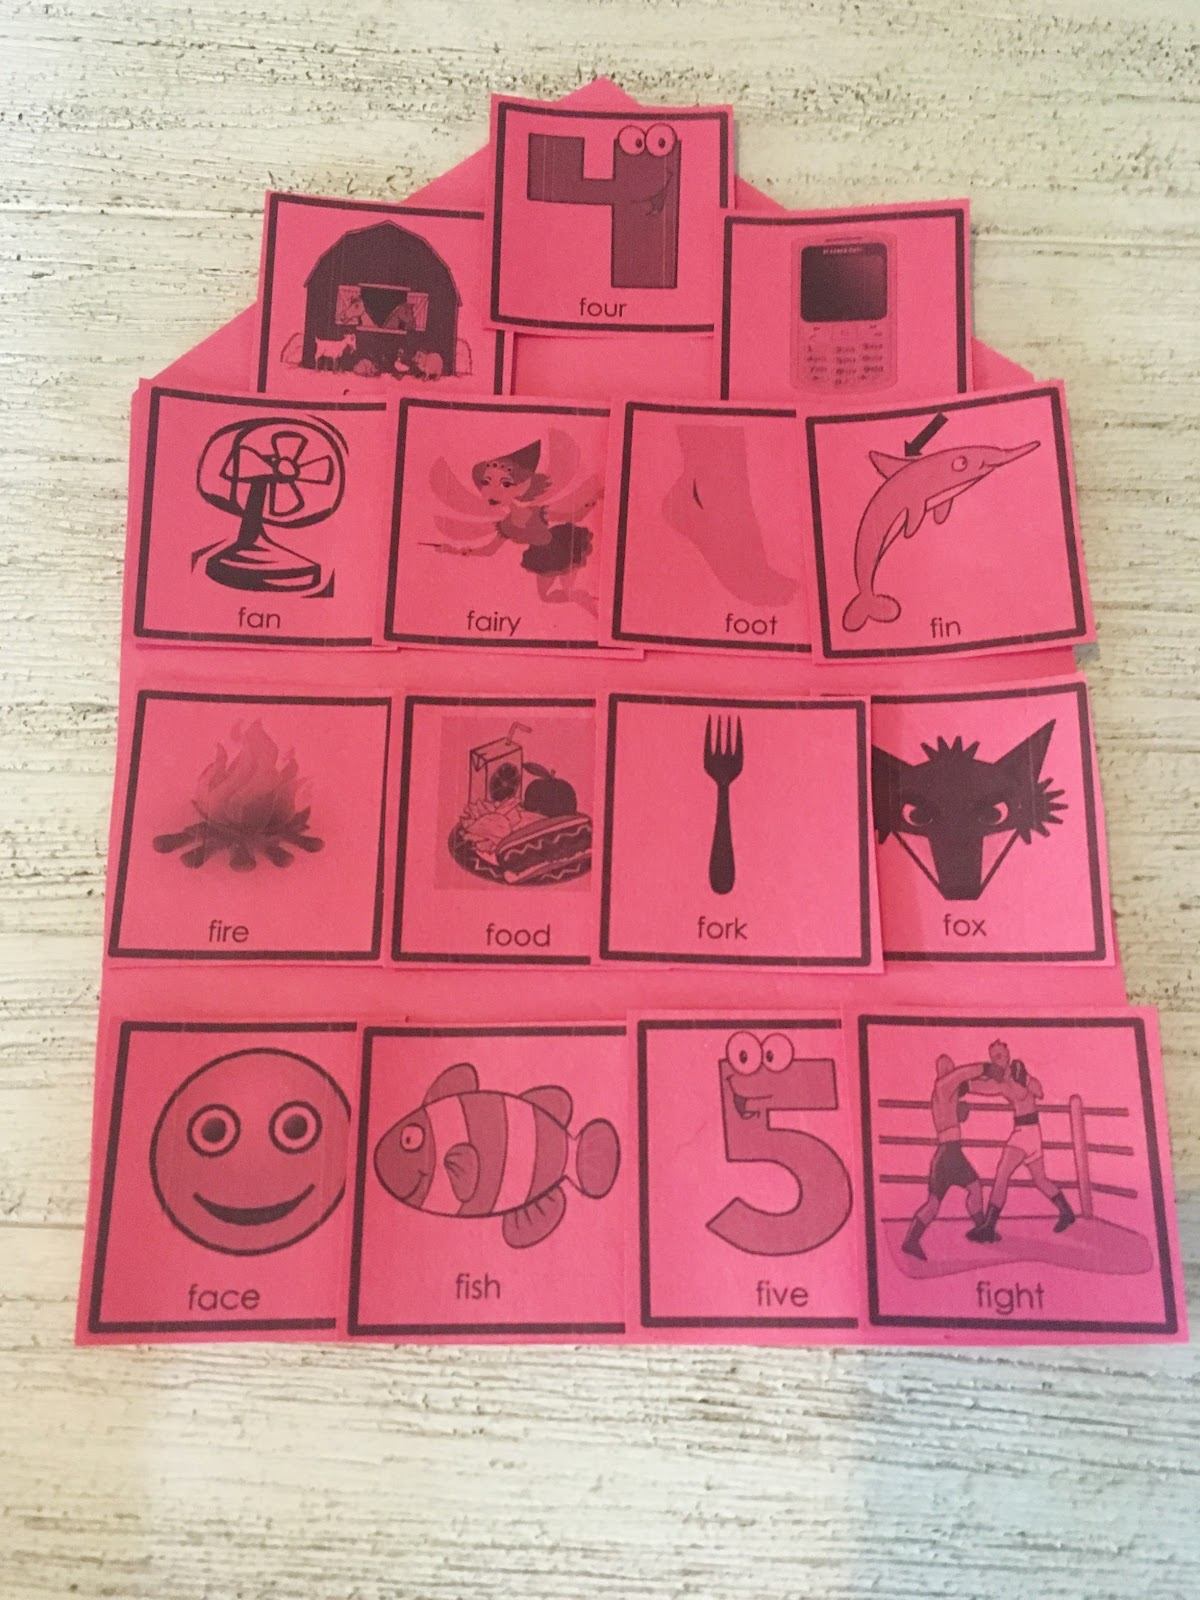
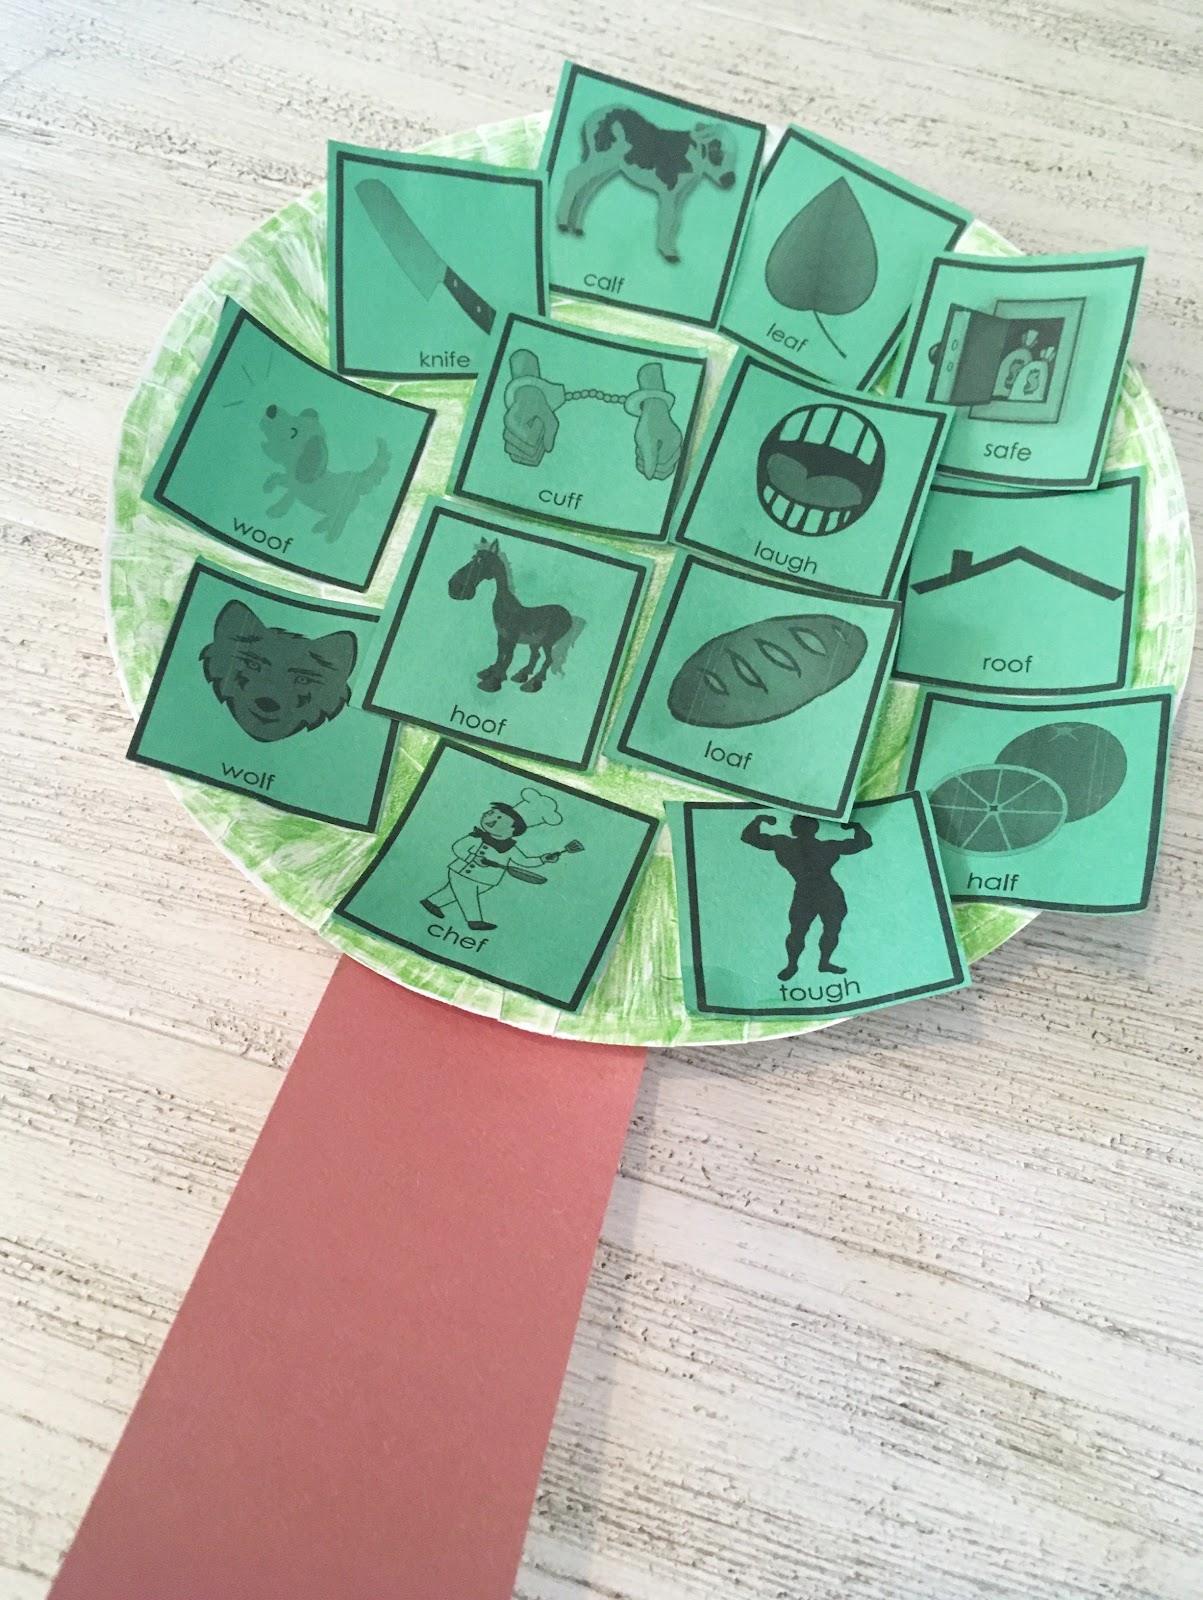
5. Frankenstein
Materials needed: paper plate, white construction paper (eyes), black construction paper (hair, eyeballs, mouth, screws), green copy/construction paper
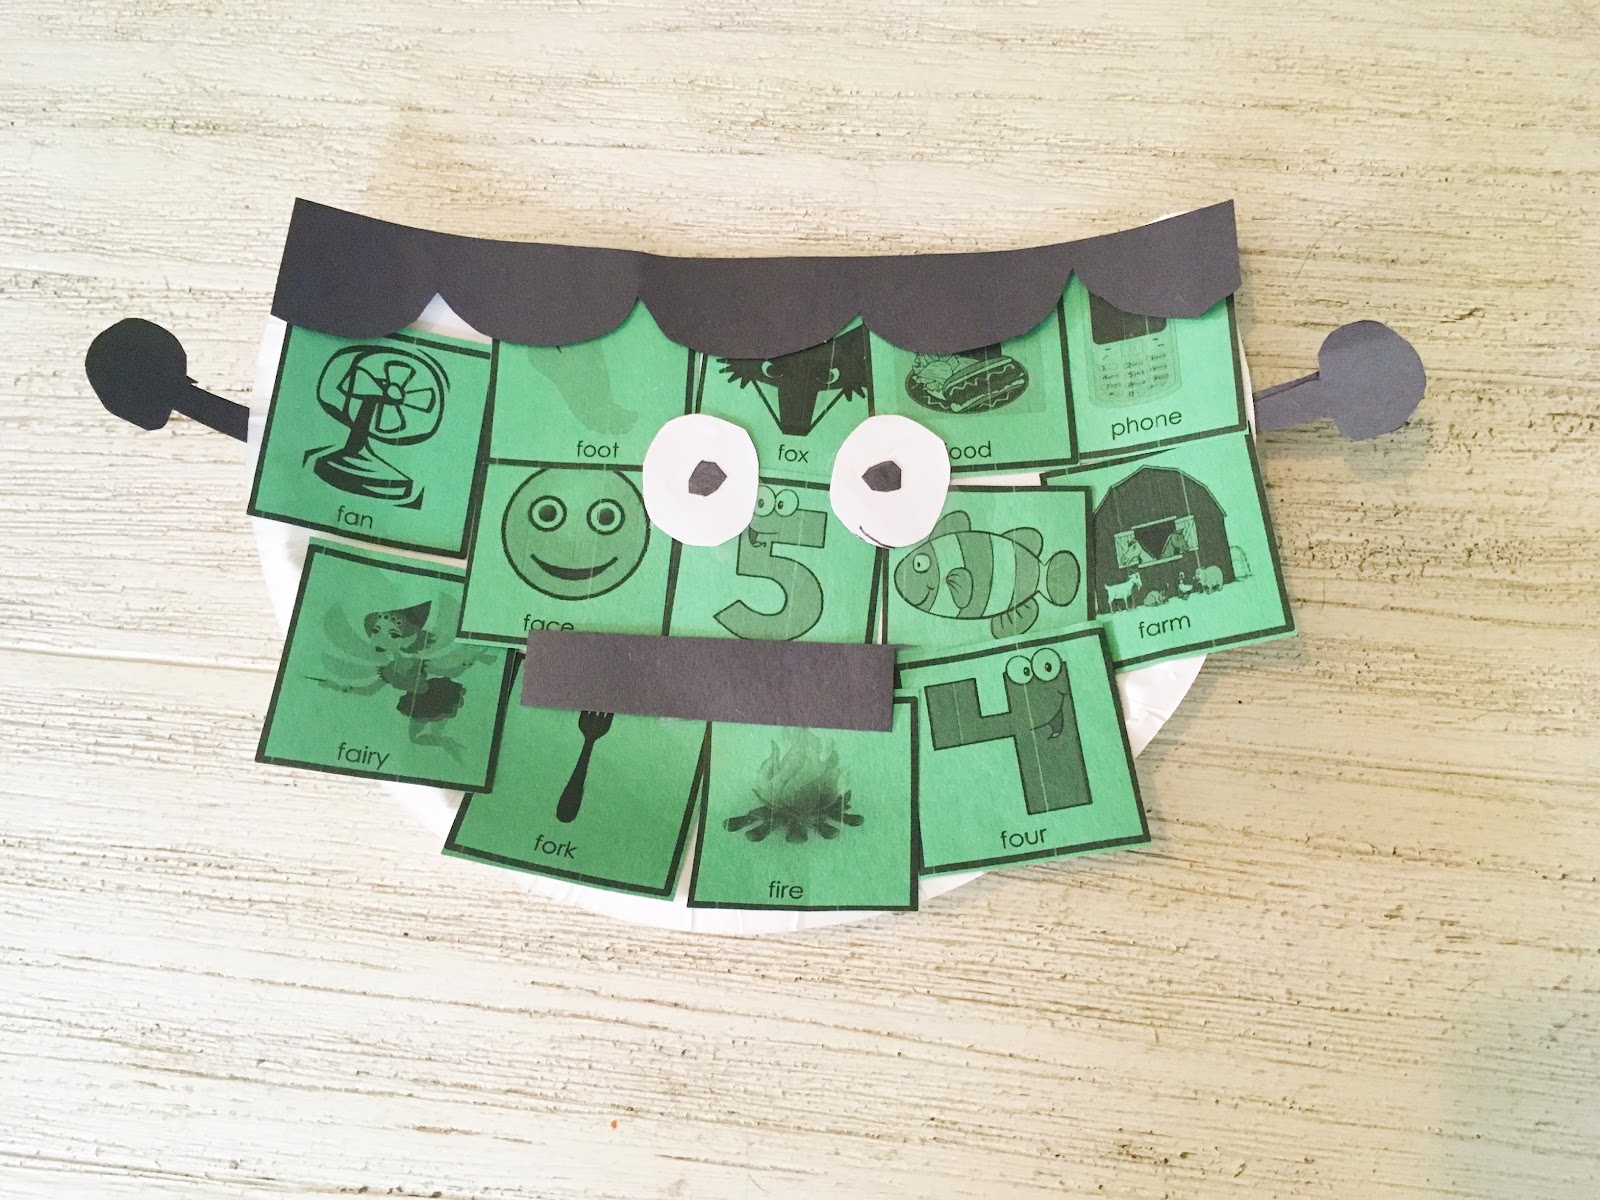
Print a set of cards on green paper (initial /f/ featured). Cut the paper plate in half, and glue the green pictures all around the half plate. Cut the hair from black construction paper and glue (I just drew “humps” for lack of a better term, across a sheet of black construction paper, and cut out several strips at a time, and just cut them down to size based on the length of the paper plate). Glue on a small black rectangle for the mouth, white and black circles for the eyeballs, and black screws on the side of the head.
I would suggest cutting all of the extra pieces (hair, eyes, mouth, screws) ahead of time, and cutting several at a time.
6. Fire Truck
Materials needed: paper plate, red copy/construction paper, black construction paper (wheels)
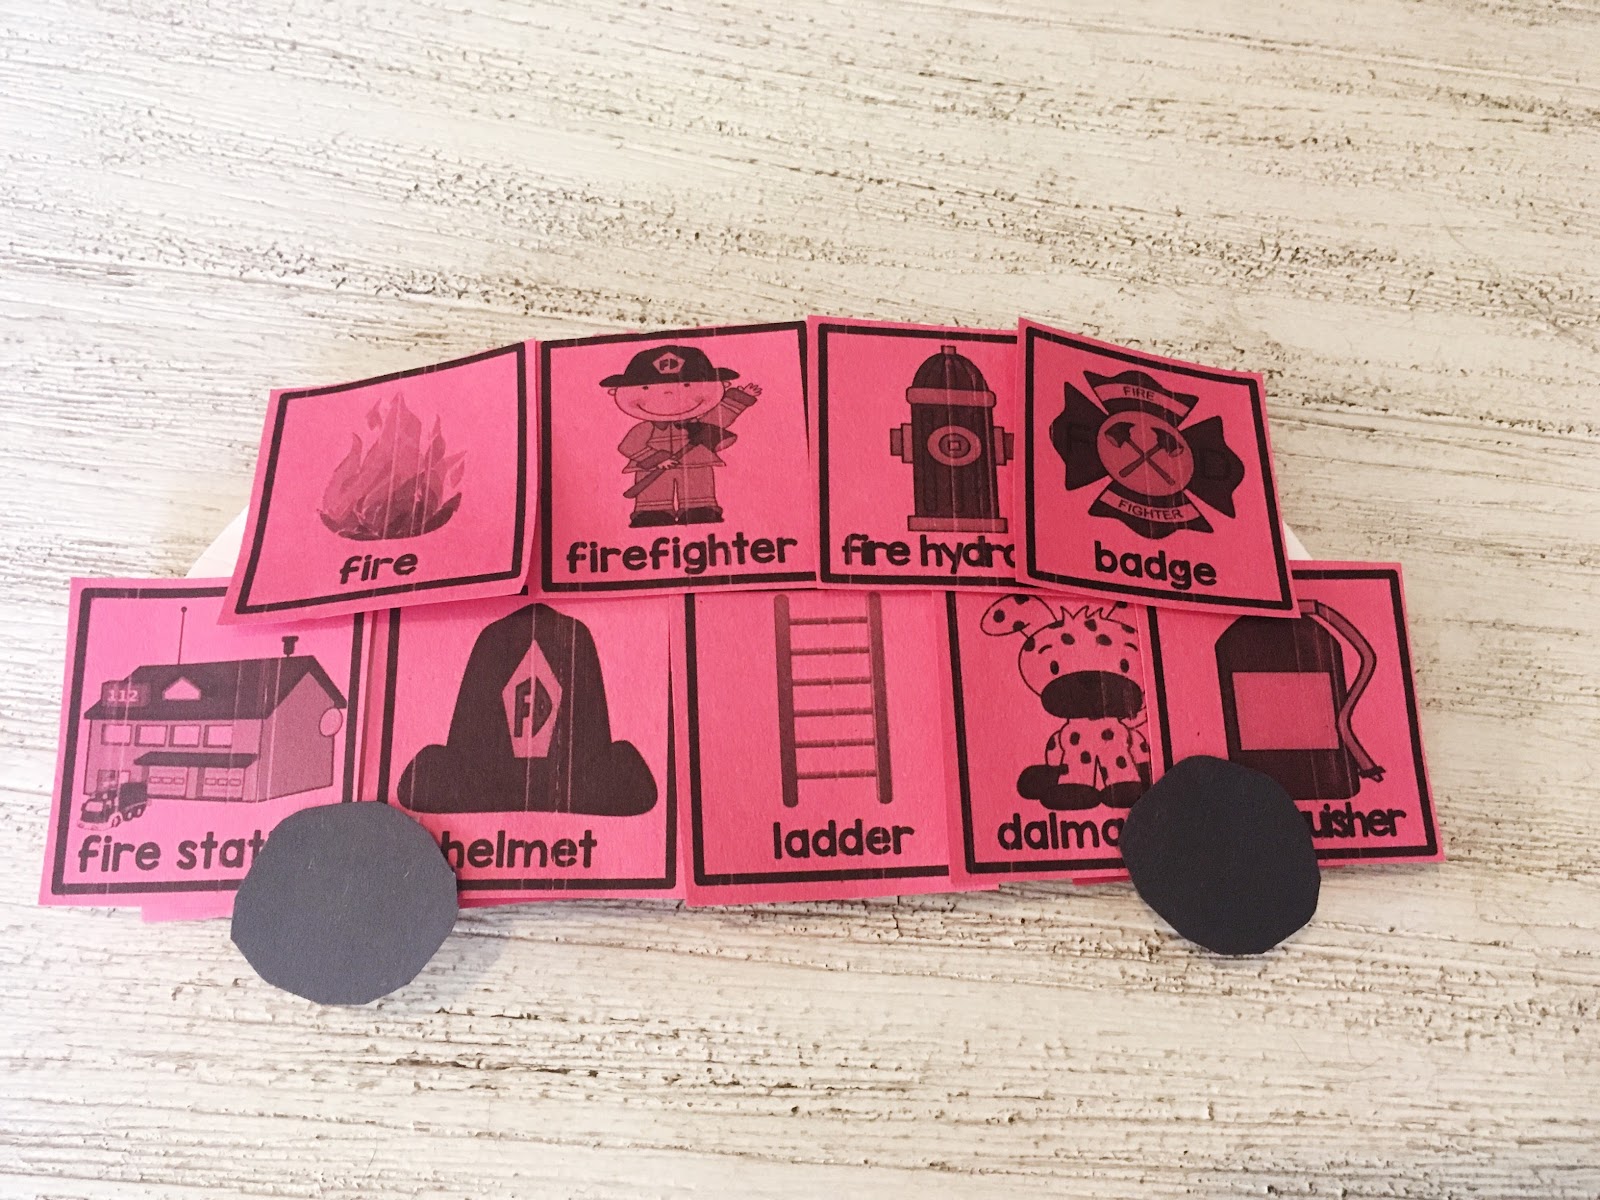
October is fire safety month! This would also be great for a transportation or community helpers unit. This one is made the same way as the school bus listed above, just with red paper. I used the fire safety Cariboo cards to make this one.
7. Owl
Owls just always remind me of Fall!
Materials: yellow and black construction paper, brown copy/construction paper
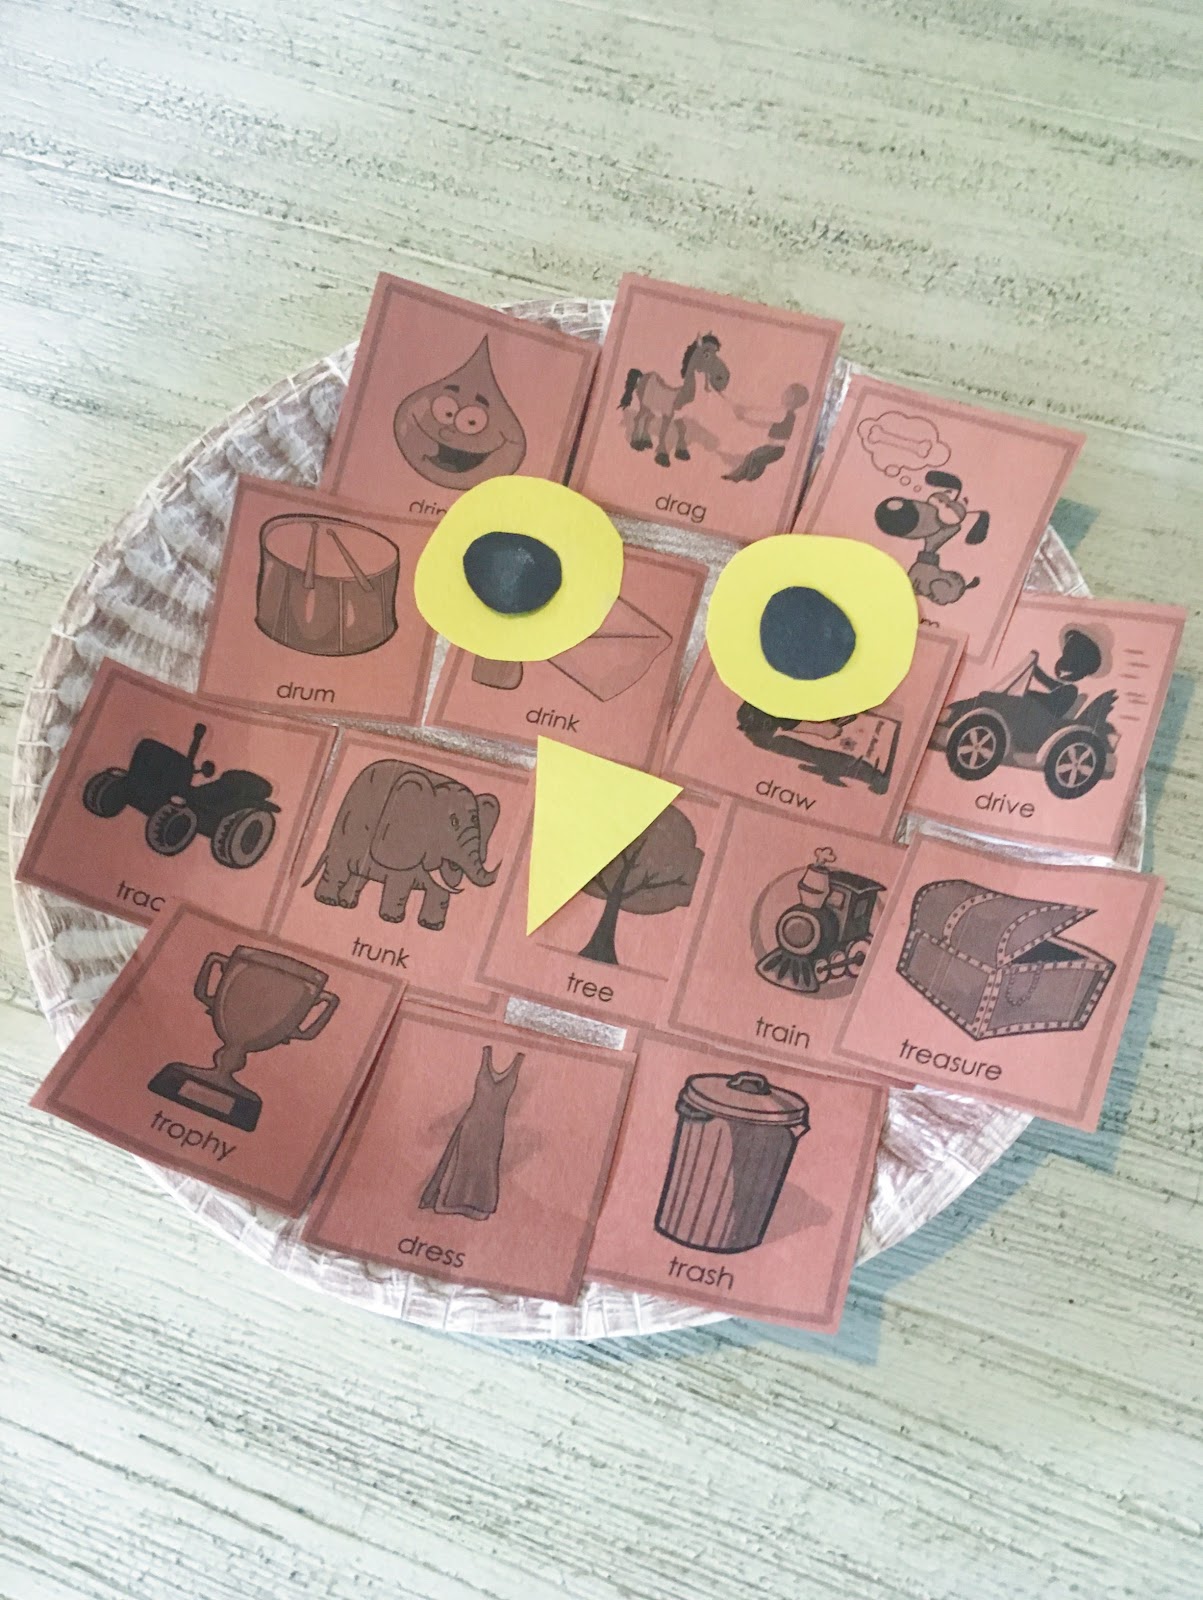
Optional: Having your students color the paper plate brown before gluing.
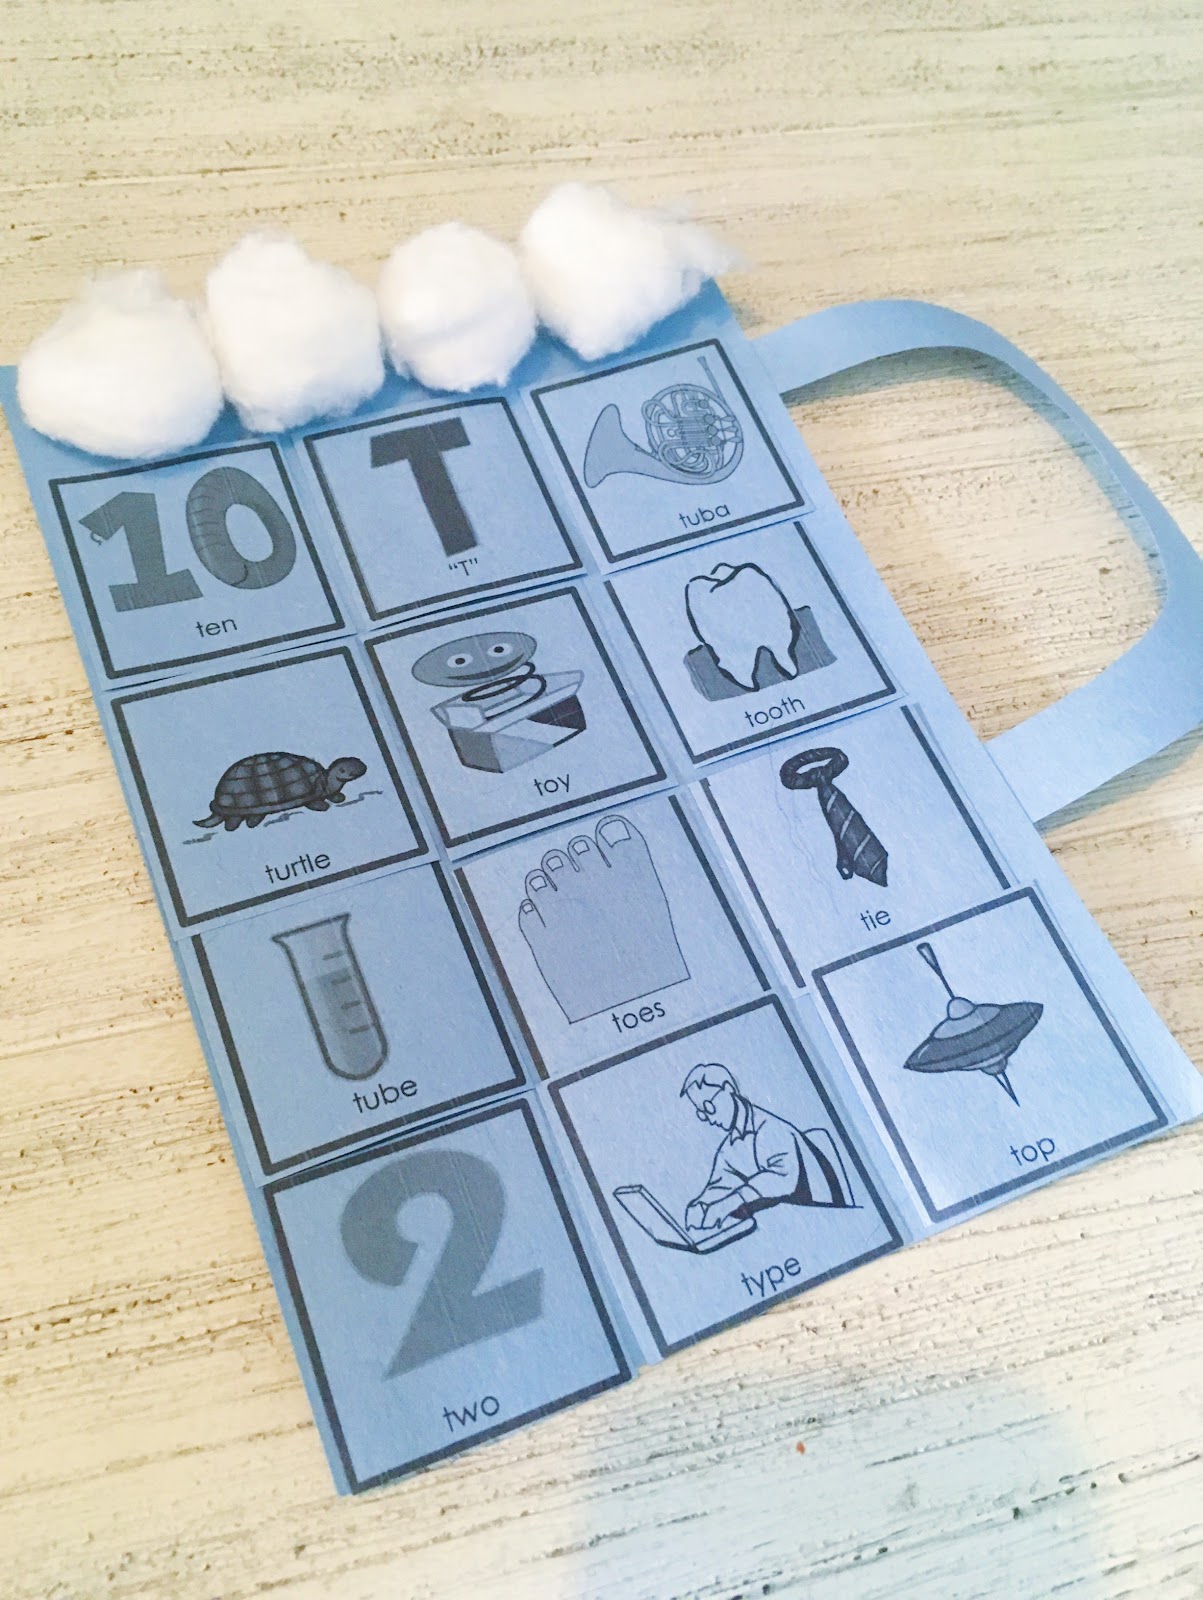
8. Pumpkin Pie
Materials needed: Paper plate, brown copy/construction paper, cotton ball
Optional: A real slice of pie because you’ll probably be hungry after making so many, and you should probably just #treatyoself (Any Parks & Rec fans reading this?!) after all of your hard work.
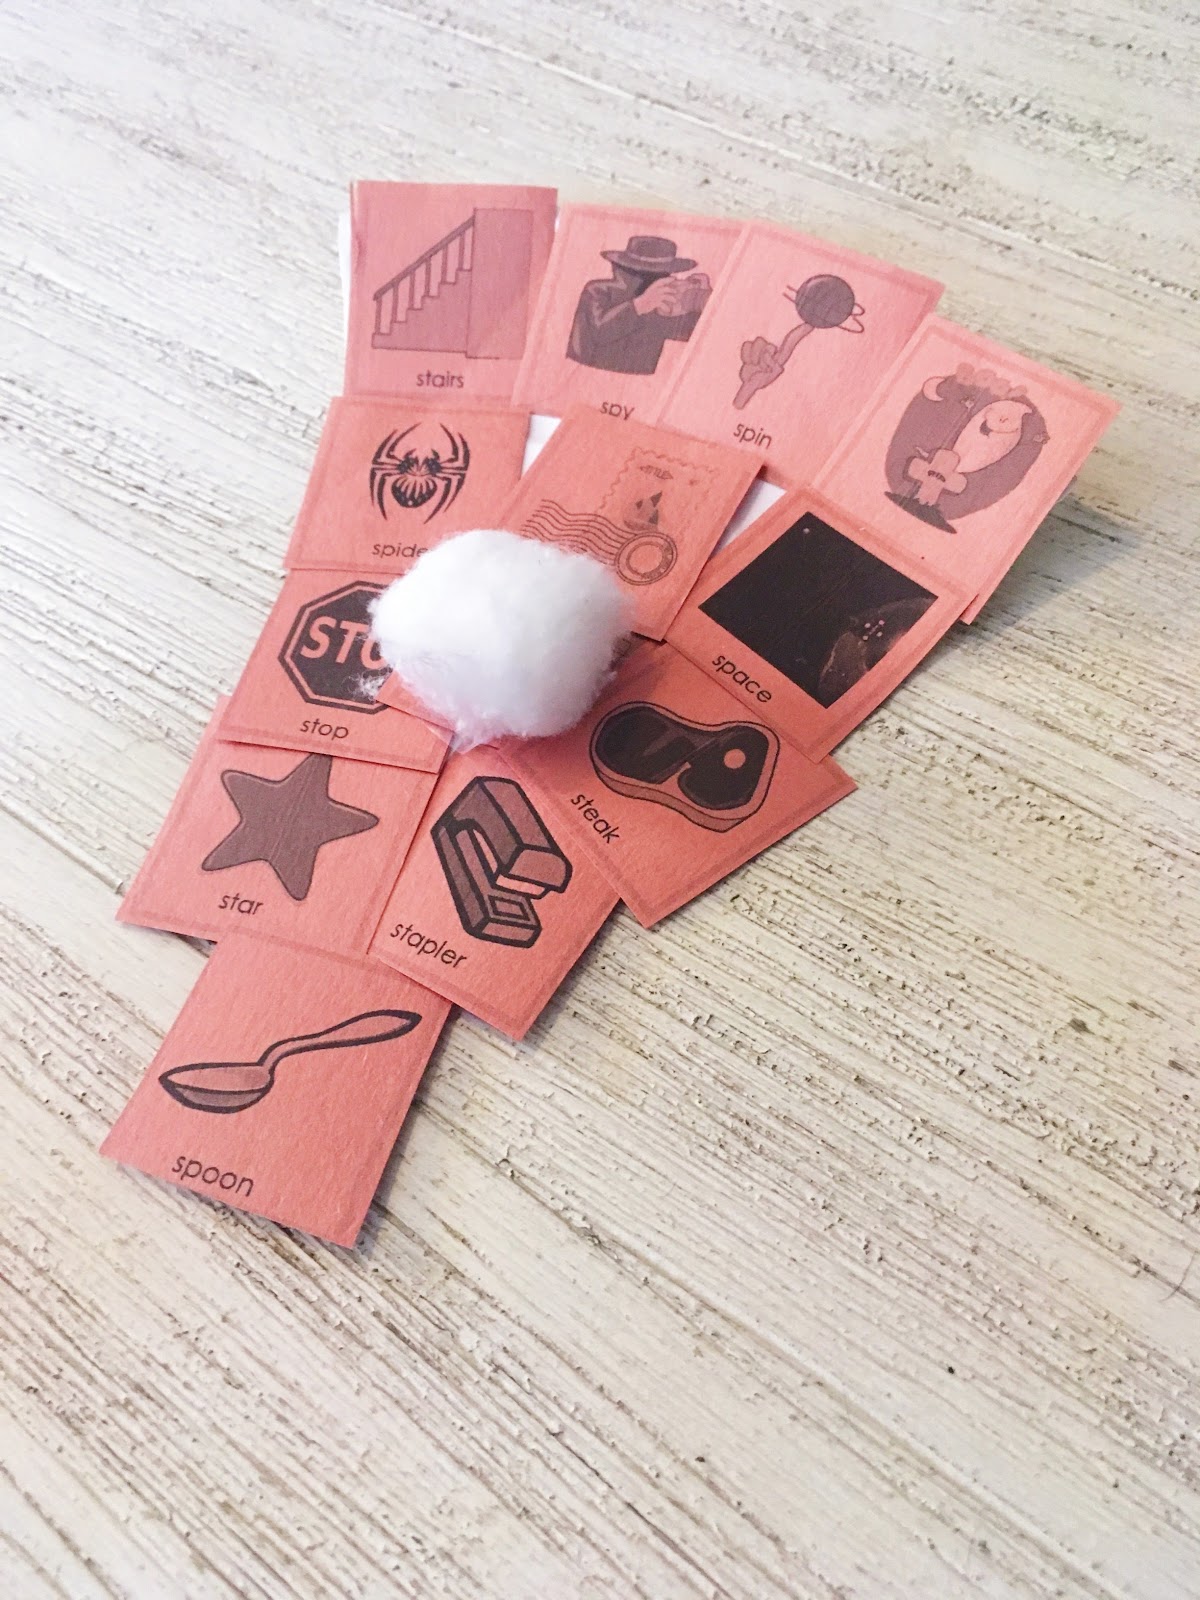
Cut the paper plate into a triangle and glue on the brown pictures (/sp/ and /st/ cards featured). Top with a cotton ball in the middle of “whipped cream” and you have a super cute Thanksgiving craftivity! The Thanksgiving vocab cards would be perfect for this, too!


I LOVE these ideas. This post is a keeper!! Simple and effective therapy ideas. Thanks you!
I like three dimensional stuff.